Showing posts with label Modeling. Show all posts

Thursday, 4 July 2013

Margarita - Blend Shapes

Blendshapes for Margarita are coming together :)

Just have to tweak her smile a bit, and then polish all shapes so that they work together.

Here are a couple of expressions . . . 


Tuesday, 2 April 2013

Tuesday, 10 July 2012

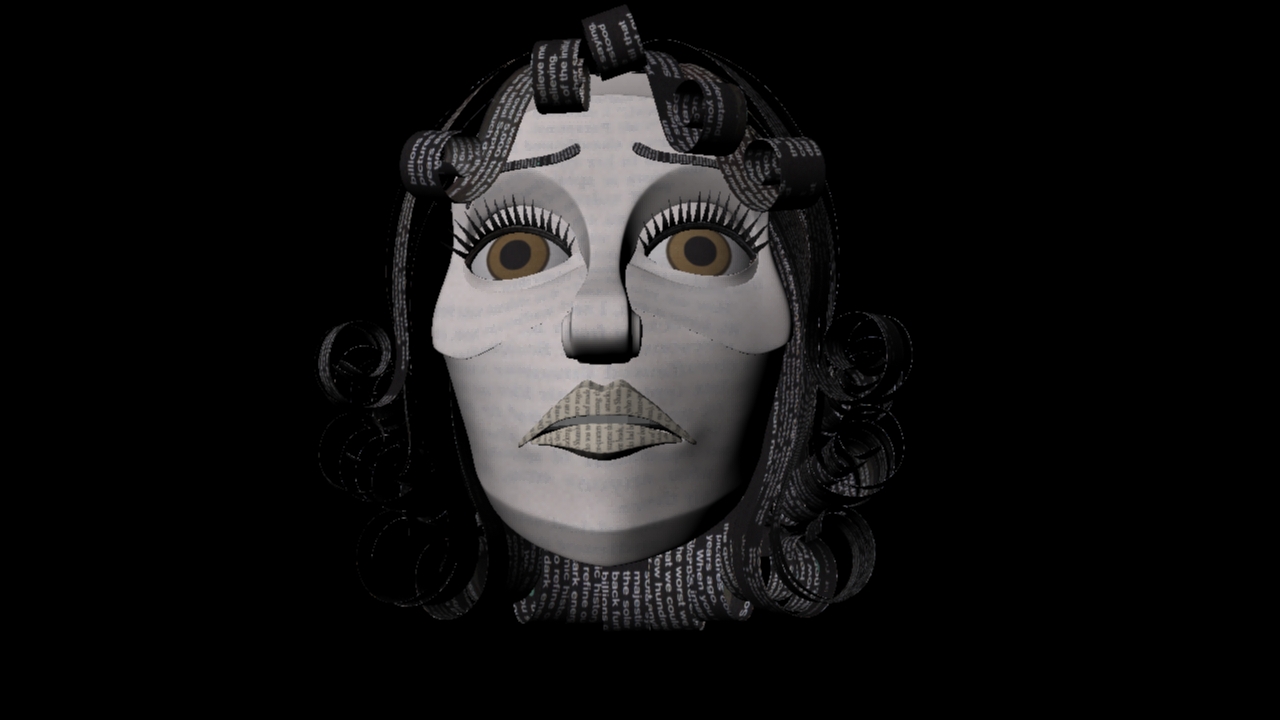
Modelling: final Margarita model

Here's the finished model for Margarita along with some scanned book pages that I'll use for texturing:


Tuesday, 3 July 2012

Monday, 2 July 2012

Modelling - Margarita Head

Phew, at last I feel as though I'm getting somewhere with modelling Margarita's head. The model has been about 80% complete for weeks and weeks now but I just couldn't seem to get my head around how to model the head with the right contours and "seams" to make it looks as though she could realistically be made from paper, but at last I think I'm beginning to crack it :)


Now I'm looking forward to modelling her hair: can you remember as a kid making paper curls by running the blade of some scissors along a strip of paper? Well, that's the plan for the hair :)

Friday, 27 April 2012

Environments: Modelling

And here are some WIP images of the environment model inspired by Sarah's original sketch:


Thursday, 26 April 2012

Margarita: early stage modelling

Here are some images of my early modelling on Margarita: there's lots still to do (changes to her face, shrinking her enormous feet!, adding arms, hair etc.) but here's the progress so far . . .


Thursday, 22 March 2012

Modelling: final Writer model

Here are some images of the final zbrush sculpt for the Writer character:


Monday, 19 March 2012

Yet more hair modelling

I've been neglecting the finishing touches on my Writer model - so here, finally, I've got round to completing his hair.


Wednesday, 19 October 2011

Tuesday, 11 October 2011

More hair modelling

I've been playing around in z-brush to try to get the hair as I want it. It's been slow progress but I've learnt a lot about various brushes in the process. These shapes were made using displace then slide then (most importantly) polish. Not perfect, but definitely getting closer:


Tuesday, 4 October 2011

Wednesday, 28 September 2011

Stylised hair

This is fractionally closer to what I'm aiming for but only when the model's not smoothed - time for another test.


Tuesday, 27 September 2011

Hair Test

A first tryout of the snake hook tool in zbrush to sculpt stylised hair. Not really what I'm aiming for! Time to try a different approach.


Tuesday, 12 July 2011

Modelling: Jacket

For some reason I had a total nightmare with the topography for the writer's jacket . . . . you can see some of my early attempts below.

It was confusing trying to get the right shape for the object whilst at the same time trying to get the polys to flow in a way that would enable me to add the creases at a later date.

I've now got a version that I'm more or less happy with (see previous post for an image of this) so fingers crossed that it holds up as I progress along the pipeline.

Here are the attempts that didn't make it!


Modelling: Writer

Having made a start on the head in ZBrush I then decided to get working on the body. I was lucky to be able to adapt existing assets for the shirt and tie, but approached the trousers and jacket from scratch (more on the jacket later!)

Below are a couple of images showing where the modelling is up to.

There's still quite a lot to do in maya (create hair as separate object, add thickness to edge of jacket, mirror jacket and trousers, add pencil detail to hands etc etc.)

Once that is done I intend to UV the assets and then take them into ZBrush to sculpt some of the creases and other details, and also to generate further detail with displacement & normal maps.



Modelling: Writer

I've been using my placement at Axis Animation to learn some new software for modelling. The pipeline I intend to use is ZBrush and Maya for modelling (going between the two applications as appropriate) and then using the higher subdivision levels in ZBrush to create normal and displacement maps.

As a first step I took a universal "head basemesh" available at the studio and sculpted it in ZBrush to get a better likeness of my characters - see screengrabs below for my progress:


Wednesday, 6 April 2011

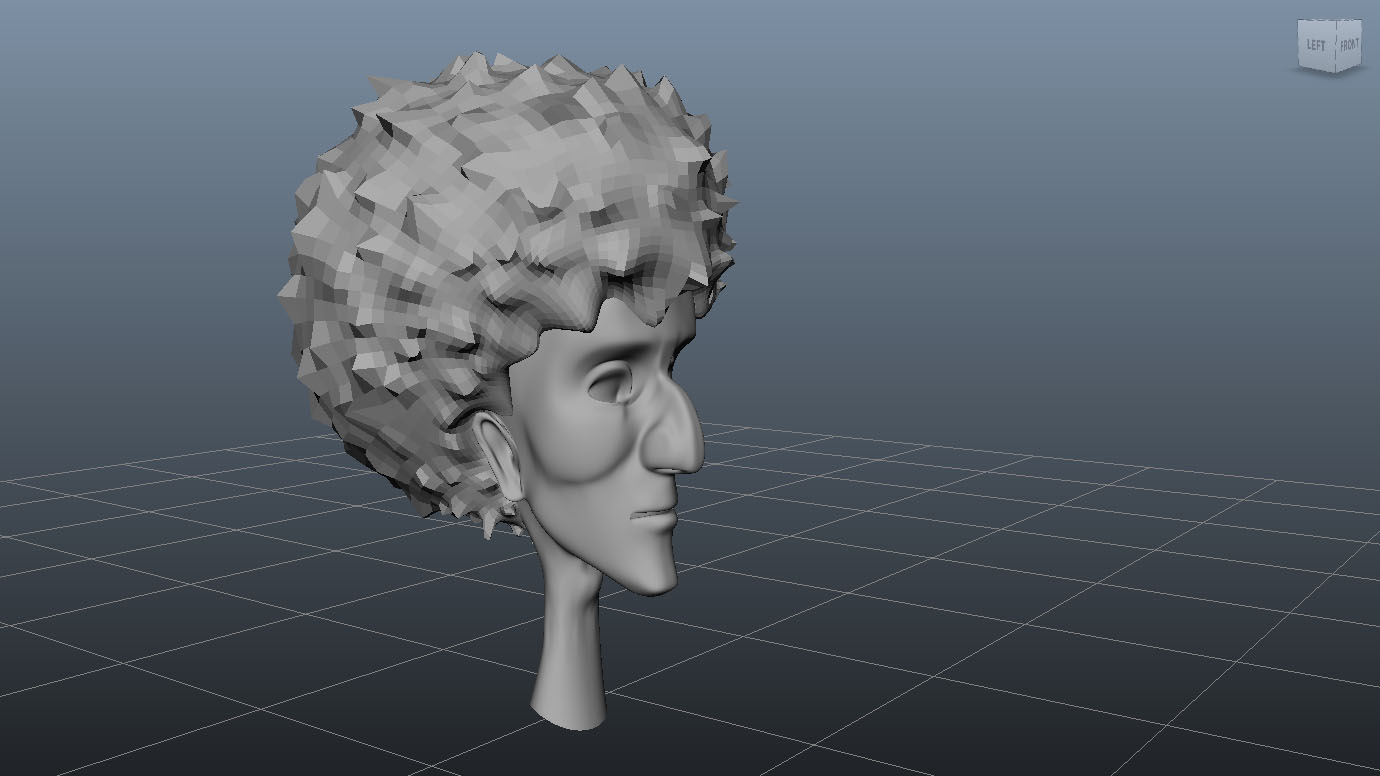
Maya Modeling: Stylised Head


The two main characters in my script will be modeled and animated in 3D so I need to get some practice in Maya. So far I've managed half a head!

This is from a Digital Tutors tutorial - the character is more stylised than the characters in the script, but it's probably best to start with something simple.